A mob farm is a crucial addition to any thriving Minecraft world, ranking alongside farms and villager trading halls in importance. This guide provides a straightforward approach to constructing your own efficient mob farm.
Recommended Videos: How To Create a Mob Farm in Minecraft
Step 1: Gather Your Resources
You'll need a substantial amount of blocks, so prepare to do some serious farming! Cobblestone and wood are popular choices due to their abundance and ease of acquisition.
Step 2: Choosing the Perfect Location
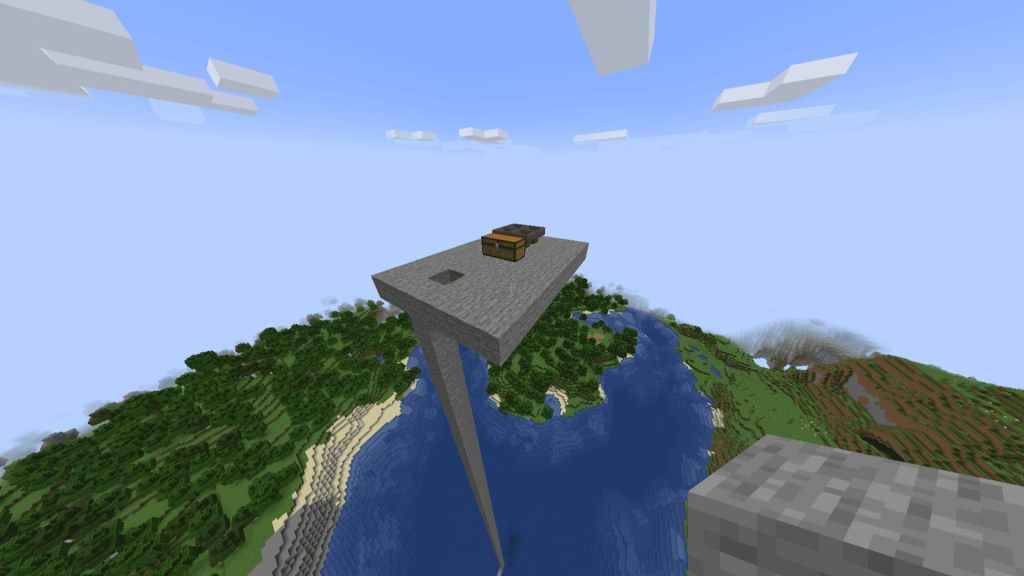
Build a platform approximately 100 blocks above a body of water. Add ladders for easy access. Place a chest and connect four hoppers to it, as shown in the image.
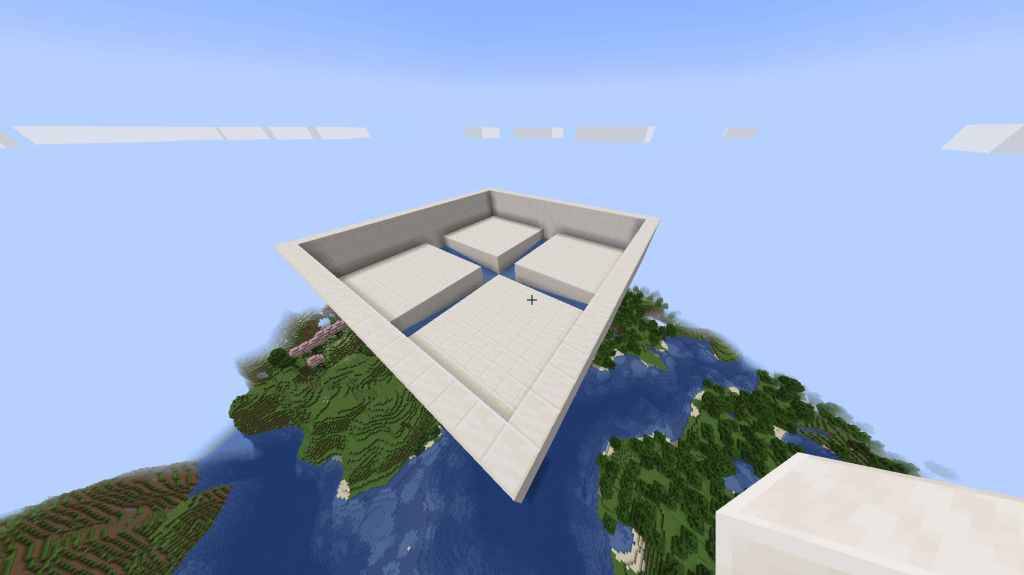
Step 3: Constructing the Main Tower

Related: Best Y Levels for Diamonds in Minecraft
Step 4: Creating the Water Trenches

Related: How to Make a Bucket in Minecraft
Step 5: Completing the Structure
Step 6: Adding Torches and Slabs
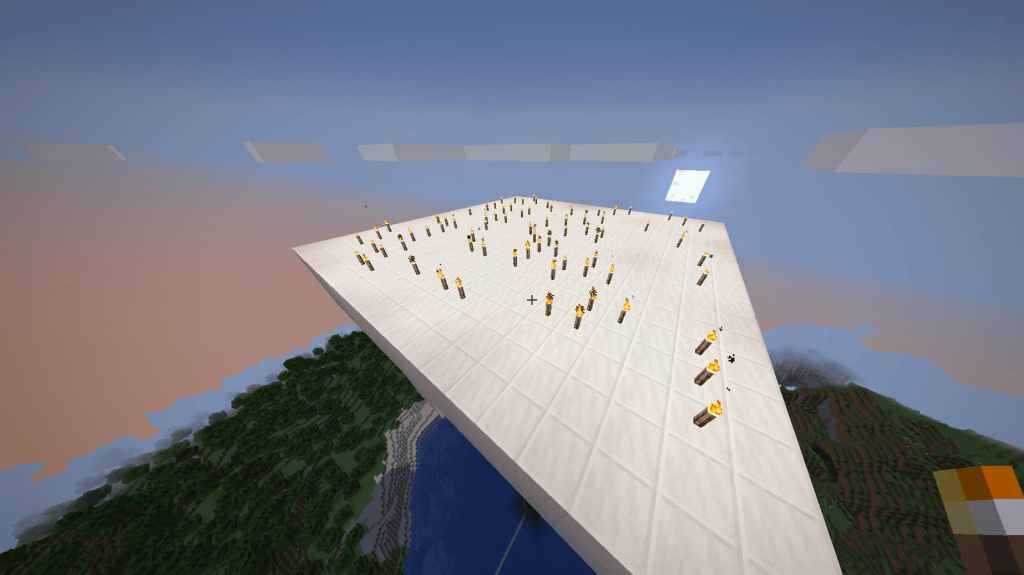 This final step is crucial. Place torches or slabs across the roof to prevent mobs from spawning on top of the farm. Once complete, wait for nightfall and watch the mobs fall into your collection system.
Boosting Your Mob Farm Efficiency

Connect a Nether Portal
A Nether portal provides convenient and quick access to your farm, eliminating tedious ladder climbs. A water elevator is another efficient alternative.
Adjustable XP/Farming Mode
By using pistons and a lever, you can easily switch between a 21-block (XP farming) and 22-block (automatic farming) setup. Alternatively, manually adjust the height.
Bed Placement for Increased Spawn Rates
Beds significantly boost mob spawn rates. Place one near your farm for enhanced efficiency.
Preventing Spider Infestations
 Spiders can clog your farm. Place carpets, skipping a block between each, to prevent spider spawning. This is because spiders require two blocks to spawn, while other mobs need only one.
Congratulations! You've successfully built a mob farm in Minecraft.
Minecraft is available on PlayStation, Xbox, Nintendo Switch, PC, and mobile devices.