>  ニュース >  ステップバイステップ:ChromebookにMinecraftをインストールします

ステップバイステップ:ChromebookにMinecraftをインストールします

Authore: Sophiaアップデート:Mar 15,2025

Minecraftの人気はほぼすべてのデバイスに及び、Chromebookも例外ではありません。 Chrome OSはユニークな課題を提示しますが、ChromebookでMinecraftを実行することは完全に可能です。このガイドは、インストールプロセスの詳細とパフォーマンスのヒントを提供します。

目次

  • ChromebookのMinecraftに関する一般情報
  • 開発者モードを有効にします
  • ChromebookにMinecraftをインストールします
  • ゲームを実行します
  • スペックが低いChromebookでMinecraftをプレイする方法
  • Chrome OSのパフォーマンスの向上

ChromebookのMinecraftに関する一般情報

ChromebookでのスムーズなMinecraft体験のために、デバイスがこれらの最小要件を満たしていることを確認してください。

  • システムアーキテクチャ: 64ビット(x86_64、arm64-v8a)
  • プロセッサ: AMD A4-9120C、Intel Celeron N4000、Intel 3865U、Intel I3-7130U、Intel M3-8100Y、Mediatek Kompanio 500(MT8183)、Qualcomm SC7180、またはそれ以上。
  • RAM: 4 GB
  • ストレージ:少なくとも1 GBの空きスペース

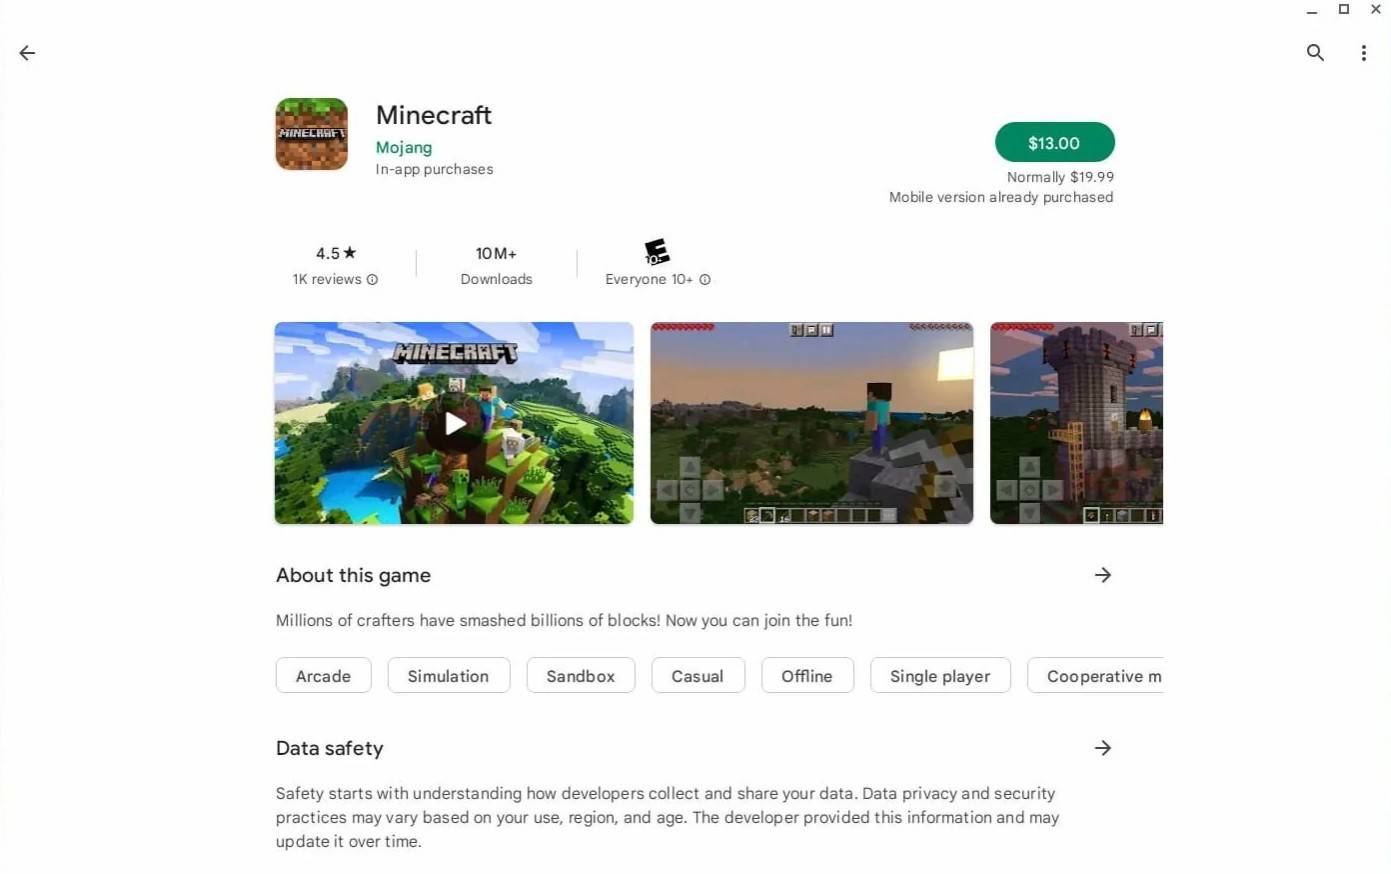
これらは最小仕様です。一部のデバイスでは、パフォーマンスがまだ影響を受ける場合があります。後でパフォーマンスの最適化について説明します。最も簡単なインストール方法は、Google PlayストアのBedrock Edition(Androidバージョンを既に所有している場合は20ドル、または13ドル)を介してです。 PlayストアでMinecraftを検索し、プロンプトに従ってください。これは、インストールのしやすさを優先する人にとって便利なオプションです。

ChromebookのMinecraft

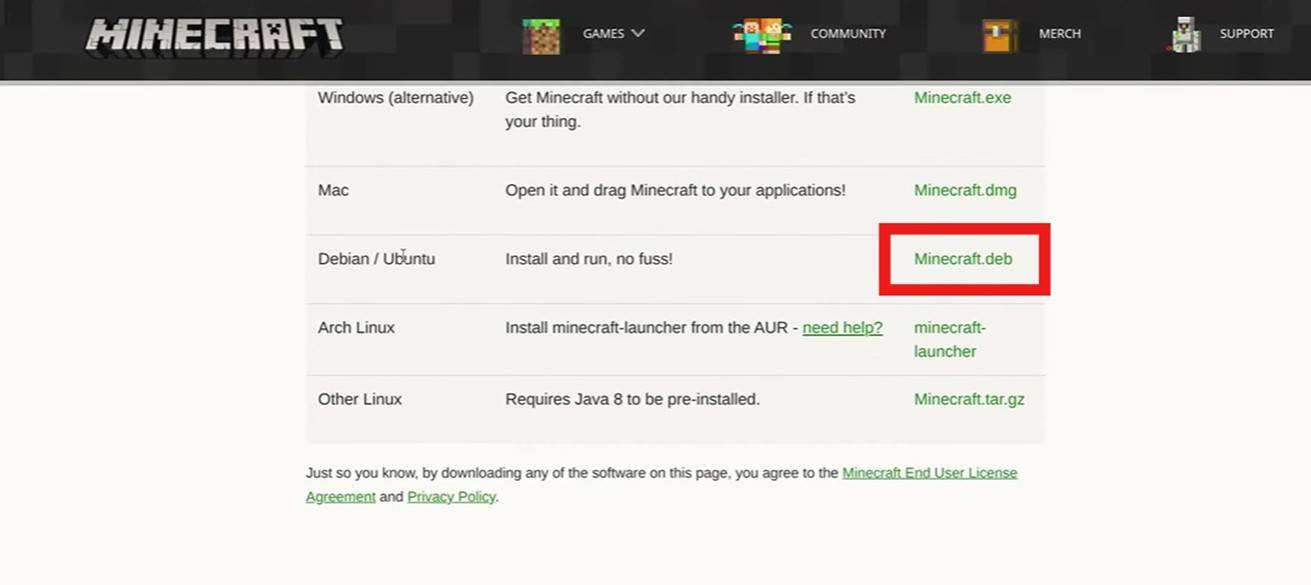
ただし、代替方法を希望する場合、Chrome OSのLinux Foundationは他のMinecraftの設置を許可します。これには、以下に詳細に詳細に詳細に必要な技術的な手順が必要です。

開発者モードを有効にします

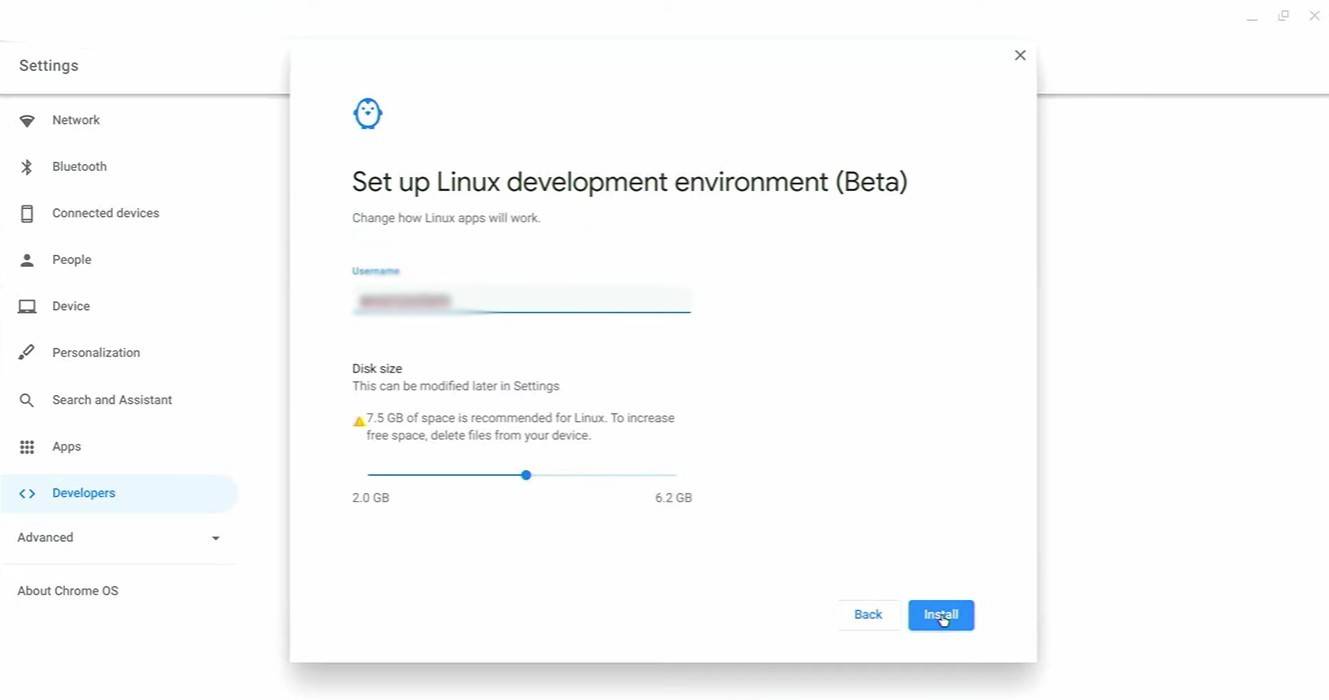
インストールする前に、開発者モードを有効にする必要があります。 Chromebookの設定にアクセスし(通常はスタートメニューに相当する)、「開発者」セクションに移動し、「Linux開発環境」を有効にします。画面上の指示に従ってください。完了すると、端子ウィンドウ(Windowsのコマンドプロンプトと同様)が開き、さらにコマンドのインターフェイスが提供されます。

ChromebookのMinecraft

ChromebookにMinecraftのインストール

[代替方法を介してMinecraftをインストールするための詳細な手順はこちらにご覧いただけます。このセクションでは、さらにコンテンツが必要です。]

ChromebookのMinecraft
最新ニュース
As of now, there is no official

As of now, there is no official "Nintendo Switch 2" released. Nintendo has not announced a successor to the Nintendo Switch, and the original Nintendo Switch (2017) remains the current model. However, if you're looking for the best power banks to use with your Nintendo Switch (whether it's the original Switch, Switch OLED, or any future model), here are the top recommendations based on performance, safety, and user feedback: ✅ Best Power Banks for Nintendo Switch (2024–2025) (Even if a "Switch 2" arrives, it will likely use the same USB-C charging standard.) 1. Anker PowerCore 20100 (20,000mAh) Why it's great: High-capacity 20,000mAh battery Supports Power Delivery (PD) 30W, which is ideal for fast charging the Switch Compact and lightweight (16.5 oz) Built-in cable (USB-C to USB-C) for easy use Anker’s trusted build quality and safety features Best for: Long gaming sessions on the go, travel, and reliability Note: Can charge Switch while on the go, and even power the console while charging. 2. RAVPower 20000mAh Power Bank with PD 30W Why it's great: 20,000mAh capacity Supports 30W USB-C PD – fast charging for Switch Dual USB-C ports (can charge Switch and another device at once) Compact, durable design with built-in LED battery indicator Best for: Gamers who want fast charging and multitasking Bonus: Comes with a protective case and cable 3. Xiaomi Mi Power Bank 3 Pro (20,000mAh) Why it's great: Slim, lightweight, and stylish Supports 20W PD charging (sufficient for Switch) Fast charging for both Switch and smartphones High efficiency and long lifespan Best for: Travelers and those who prefer sleek, minimalist design 4. Belkin 20W USB-C PD Power Bank (20,000mAh) Why it's great: Apple- and Nintendo-approved build quality Reliable 20W PD output (ideal for Switch) Compact and travel-friendly Durable, well-protected casing Best for: Users who value brand reliability and compatibility 🔌 Important Charging Tips for Nintendo Switch: Use USB-C to USB-C cable with PD 30W support for optimal performance. Avoid cheap or uncertified power banks — they may not deliver stable power, risking battery damage. The Switch charges at up to 15W, so any PD 15W or higher power bank will work well. Never use non-USB-C PD power banks — they may not charge properly. ❌ What to Avoid: Power banks without USB-C PD support Ultra-cheap brands (risk of overheating or damage) Power banks with output

ローラン・ギャロス・エリーグ2025 ファイナリスト決定

ローラン・ギャロス・エリーグ2025 ファイナリスト決定